创建一个音乐均衡灯的应用是一个复杂但很有趣的项目,它需要结合音频处理、灯光控制和UI设计。在Uni-app中实现这个功能,我们可以利用一些现有的音频处理库来解析音乐数据,并控制灯光效果。
以下是一个简化的示例,演示如何在Uni-app中实现一个基础的音乐均衡灯。这个示例主要展示了如何获取音频数据并基于音频数据控制灯光效果。
1. 项目初始化
首先,确保你已经安装了Uni-app开发工具(如HBuilderX),并创建一个新的Uni-app项目。
2. 安装依赖
为了处理音频数据,我们可以使用Web Audio API。在Uni-app中,你可能需要一些额外的库来处理音频,但这里我们先使用基础API进行演示。
3. 编写代码
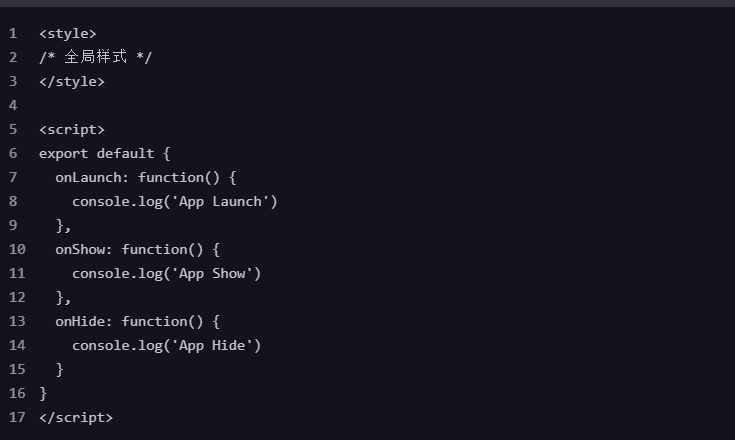
App.vue
这是应用的入口文件,主要用来设置全局样式和初始化。
vue复制代码
| <style> | |
| /* 全局样式 */ | |
| </style> | |
| <script> | |
| export default { | |
| onLaunch: function() { | |
| console.log(‘App Launch’) | |
| }, | |
| onShow: function() { | |
| console.log(‘App Show’) | |
| }, | |
| onHide: function() { | |
| console.log(‘App Hide’) | |
| } | |
| } | |
| </script> |
pages/index/index.vue
这是主页面,包含音频控制、画布绘制等功能。
vue复制代码
| <template> | |
| <view class=”container”> | |
| <canvas canvas-id=”equalizerCanvas” style=”width: 100%; height: 300px;”></canvas> | |
| <button @click=”startAudio”>播放音乐</button> | |
| <button @click=”stopAudio”>停止音乐</button> | |
| </view> | |
| </template> | |
| <script> | |
| export default { | |
| data() { | |
| return { | |
| audioContext: null, | |
| analyser: null, | |
| dataArray: null, | |
| bufferLength: 0, | |
| source: null, | |
| animationFrameId: null, | |
| }; | |
| }, | |
| onLoad() { | |
| this.initAudio(); | |
| }, | |
| methods: { | |
| initAudio() { | |
| // 初始化音频上下文 | |
| this.audioContext = wx.createInnerAudioContext(); | |
| this.audioContext.src = ‘https://example.com/your-music-file.mp3’; // 替换为你的音乐文件URL | |
| // 创建音频分析器 | |
| this.analyser = wx.createAudioContext(‘analyser’); | |
| this.analyser.src = this.audioContext.src; | |
| this.analyser.onCanPlay(() => { | |
| this.bufferLength = this.analyser.audioBufferSourceNode.buffer.length; | |
| this.dataArray = new Uint8Array(this.bufferLength); | |
| }); | |
| }, | |
| startAudio() { | |
| this.audioContext.play(); | |
| this.draw(); | |
| }, | |
| stopAudio() { | |
| this.audioContext.stop(); | |
| cancelAnimationFrame(this.animationFrameId); | |
| }, | |
| draw() { | |
| const canvasContext = wx.createCanvasContext(‘equalizerCanvas’); | |
| this.analyser.audioBufferSourceNode.onprocess = () => { | |
| this.analyser.getByteFrequencyData(this.dataArray); | |
| canvasContext.clearRect(0, 0, canvas.width, canvas.height); | |
| const barWidth = (canvas.width / this.bufferLength) * 2.5; | |
| let barHeight; | |
| let x = 0; | |
| for (let i = 0; i < this.bufferLength; i++) { | |
| barHeight = this.dataArray[i]; | |
| canvasContext.fillStyle = ‘rgb(‘ + (barHeight + 100) + ‘,50,50)’; | |
| canvasContext.fillRect(x, canvas.height – barHeight / 2, barWidth, barHeight / 2); | |
| x += barWidth + 1; | |
| } | |
| canvasContext.draw(); | |
| this.animationFrameId = requestAnimationFrame(this.draw); | |
| }; | |
| } | |
| } | |
| }; | |
| </script> | |
| <style> | |
| .container { | |
| display: flex; | |
| flex-direction: column; | |
| align-items: center; | |
| justify-content: center; | |
| height: 100vh; | |
| } | |
| button { | |
| margin-top: 20px; | |
| } | |
| </style> |
4. 注意事项
- 音频文件URL:确保你使用的音频文件URL是有效的,并且可以在小程序中访问。
- 音频处理:在实际应用中,你可能需要更复杂的音频处理逻辑,比如使用FFT(快速傅里叶变换)来获取更精确的频谱数据。
- 性能优化:对于性能要求较高的应用,考虑使用WebGL或其他优化手段来提升绘制性能。
- UI设计:根据实际需求,设计更美观的UI界面,提升用户体验。
5. 后续开发
这个示例只是一个基础实现,你可以根据实际需求进行扩展和优化。希望这个示例能对你有所帮助!
© 版权声明
文章版权归作者所有,未经允许请勿转载。
相关文章

暂无评论...


